Wire Suspension Kit for Signage – Includes 1/16'' Black Wire Cable, Top Mounts, and Grippers for 1/8'' Material, Aluminum Clear Anodized Finish

Product 1

Wire Suspension Kit for Signage – Includes 1/16'' Black Wire Cable, Top Mounts, and Grippers for 1/8'' Material, Aluminum Clear Anodized Finish

SKU: 130.125MB
Unit Price$16.25
 

Wire Suspension Kit for Signage – Includes 1/16'' Black Wire Cable, Top Mounts, and Grippers for 1/8'' Material, Aluminum Clear Anodized Finish

SKU: 130.125MB
Wire Suspension Kit for Signage – Includes 1/16'' Black Wire Cable, Top Mounts, and Grippers for 1/8'' Material, Aluminum  Clear Anodized Finish
Description:
"This Kits provide an easy solution for starting wire suspension in your signage and display projects.Each kit includes the necessary hardware to mount 1/8” thick materials from a solid ceiling, including two top mounts, a 10-foot span of 1/16” wire, and two panel grippers. *Please note that signage panels are not included. This Kit Contents: (2) 130.000 Top Mounts (2) 120.125 Grippers (1) 10’ length of 1/16m'' (7x7) Wire Cable Black Finish

Wire Suspension Kit for Signage – Includes 1/16'' Black Wire Cable, Top Mounts, and Grippers for 1/8'' Material, Aluminum Clear Anodized Finish

SKU: 130.125MB
Sku 130.125MB
Finish Matte Black Anodized
Inside/Outside Inside Use Only
Material Aluminum
Cable Diameter 1/16''
Rated Strength 55 lbs (25 Kg) per Steel Cable (When Properly Installed)
Application Ceiling Suspended
Thickness Material Accepted Between (3/16'' and 3/16'')
Maximum Thick. Material 3/16''
Installation

The installation process is very easy!
First, mark where you will be hanging your ceiling mount(s)
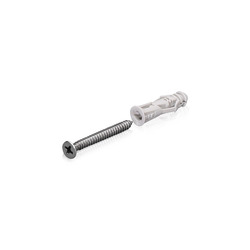
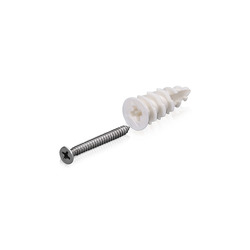
Then, drill any necessary holes and install your anchors.
Next, loosen the set screw and remove the ceiling support holder.
Slide a screw through the ceiling support holder and screw it securely into the anchor.
Before screwing the Ceiling Mounted Material Holder to the threaded ceiling support, slide your cable all the way through the top of the Material Holder.
Now place the Material Holder onto the ceiling support holder and tighten the set screw.
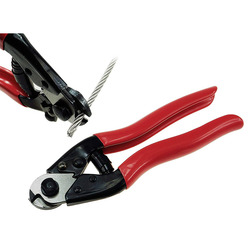
Cut the cable at the desired length, thread it into the top of your hanging fork, and tighten the set screw.
All that's left is to hang your material, tighten the set screw, and enjoy your beautiful display!

Installation Hardware Included
Tools Required Allen Key 3/32'', 5/32'', Philips Screw Driver, Hand Drill